
Last updated September 23, 2026
DIY vs Professional Insulation: The Pasadena Homeowner’s Decision Guide
Blowing in R-38 fiberglass over an unsealed attic is a task any homeowner can complete in a Saturday - and it will deliver roughly R-20 in real-world performance until the bypasses underneath it are addressed. The insulation part is easy; the part that makes it work is not. In Pasadena, where summer attic temperatures regularly exceed 140°F and winter nights dip into the 30s, that performance gap translates directly into dollars on your SCE bill and comfort you never quite achieve. This guide draws the line at the technical threshold that actually matters: whether you can perform, measure, and document the air sealing that determines if your insulation performs at its rated R-value or significantly below it.
Quick Answer
Most Pasadena homeowners can safely install batt insulation in an open wall cavity or lay fiberglass batts in a joist-bay floor - but they cannot verify that their home’s thermal envelope performs as designed without a blower-door test and professional-grade air sealing of top plates, can lights, and flue penetrations. If you cannot measure and document the air leakage rate before and after your work, you are guessing at performance, and in Pasadena’s climate, a guess typically costs 30-50% in lost efficiency. The decision point is not skill with insulation; it is access to the diagnostic tools and fire-rated sealing materials that make insulation perform to its rating.
Table of Contents
- What Homeowners Can Realistically DIY
- The Air Sealing Threshold Where DIY Ends
- Measuring Your Work: The Blower-Door Gap
- California Licensing: What Homeowners Can Legally Do
- True Cost Comparison: DIY vs Contractor in Pasadena
- Where DIY Fails in Pasadena Homes
- Material Selection: Brands and Applications
- Common Mistakes to Avoid
- When to Call a Professional
- Frequently Asked Questions
- The Bottom Line
What Homeowners Can Realistically DIY
Let’s be direct about what sits comfortably in a competent homeowner’s range. We’ve walked thousands of Pasadena attics since 2016, and certain insulation tasks are genuinely accessible without professional equipment or licensing.
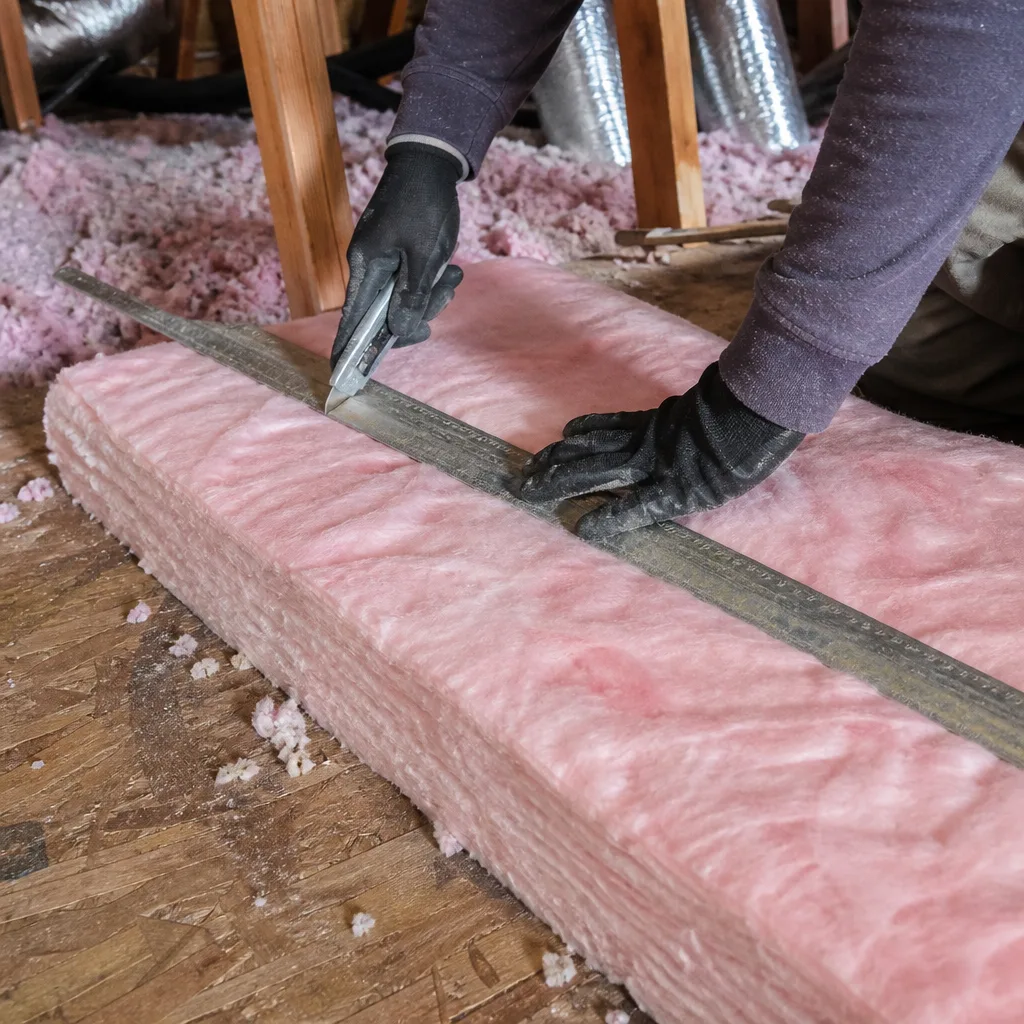
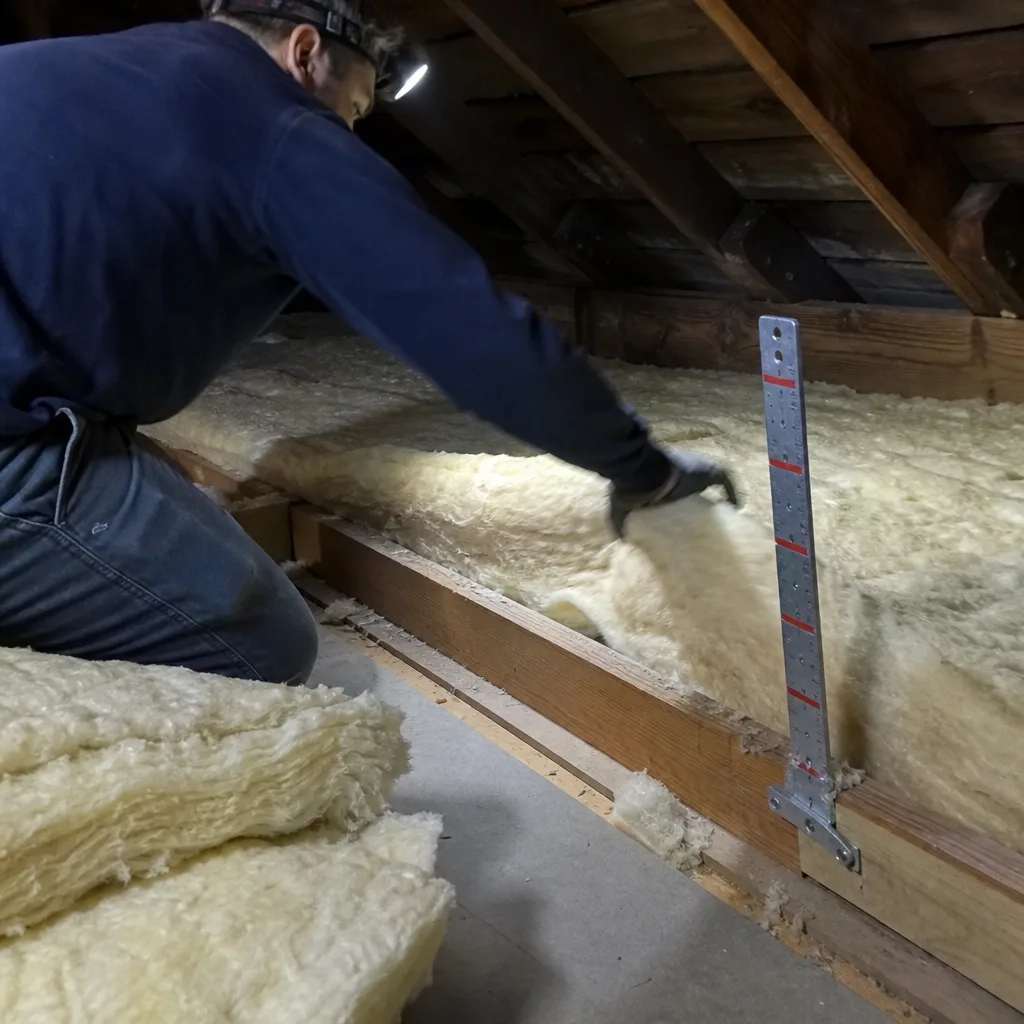
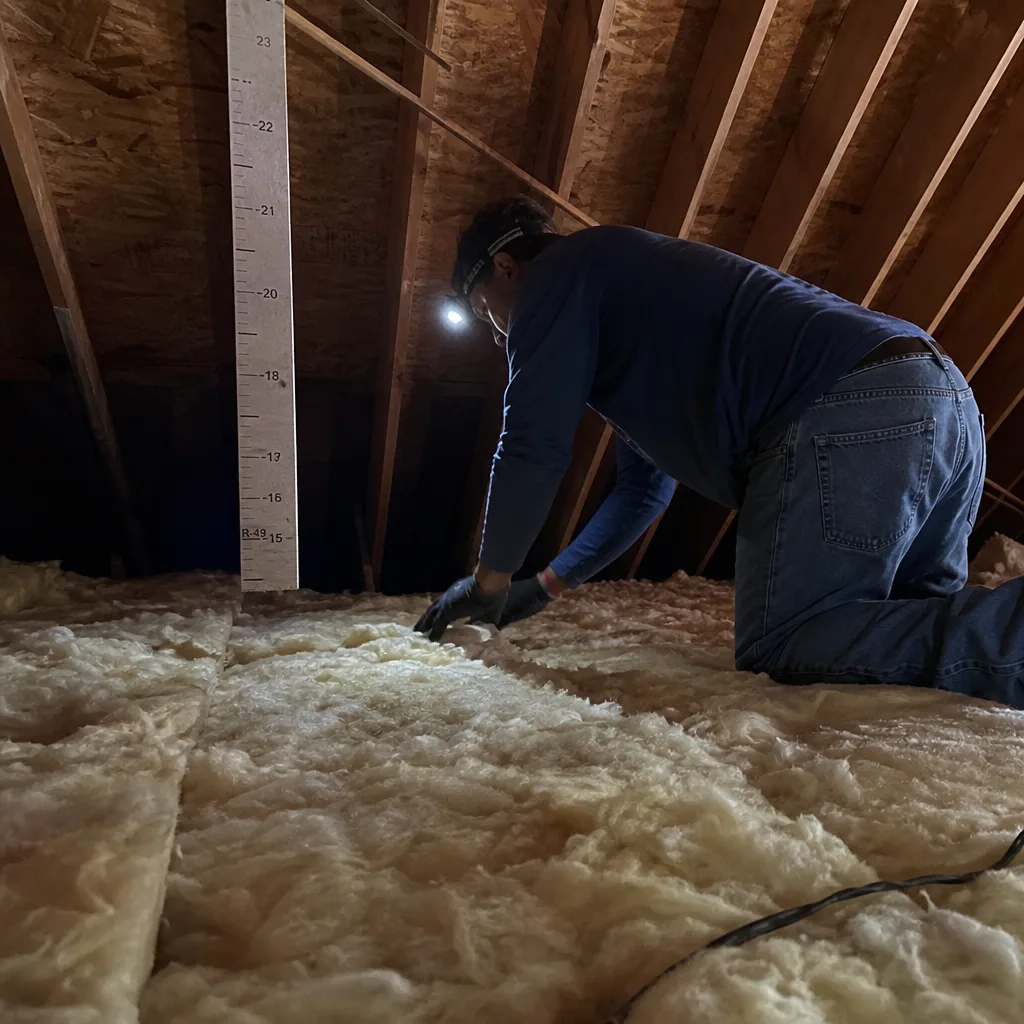
Attic floor blanket installation. If your attic has a plywood floor or clear joist bays with no buried wiring hazards, laying unfaced fiberglass batts or mineral wool batts between joists is straightforward. The key constraints: you need safe attic access, adequate headroom to work without compressing the material, and the ability to verify that no knob-and-tube wiring runs through the bays you’re filling. In Pasadena’s Bungalow Heaven district and similar pre-1940 neighborhoods, that wiring check is not optional - it’s where DIY insulation projects create fire hazards.
Exposed wall cavity filling during renovation. When you’ve opened a wall for plumbing or electrical work and the cavity is visible, stuffing a batt or spraying a low-pressure foam kit into that single bay is reasonable. The critical limitation: you must stop at the perimeter of your opened area. Filling cavities you cannot see - where plumbing stacks, electrical junctions, or structural elements hide - is where concealed damage occurs.
Radiant barrier stapling in accessible attics. Attaching perforated radiant barrier foil to rafters in a vented attic is labor-intensive but technically simple. The performance caveat: radiant barriers only reduce radiant heat gain; they do nothing for conductive losses through the ceiling, and in Pasadena’s climate, they are typically a supplement to - not a replacement for - adequate attic insulation.
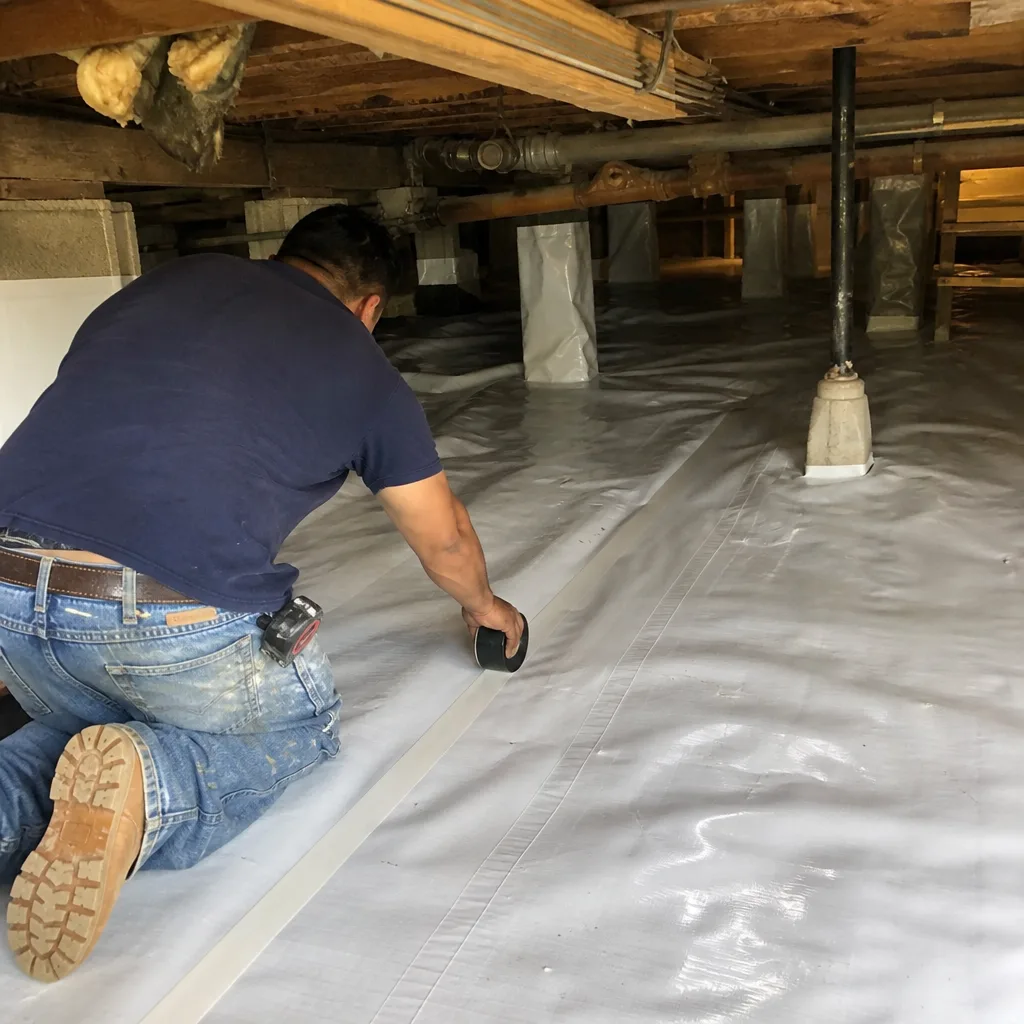
Crawl space vapor barrier laying. If your crawl space is dry, adequately vented, and free of rodent damage, rolling 6-mil polyethylene over bare soil and sealing seams with tape is achievable. The threshold where this becomes professional work: standing water, active pest intrusion, or the need to seal foundation walls with rigid foam. Those conditions require crawl space encapsulation with proper drainage and pest exclusion - work that changes the building’s moisture dynamics.
What unites these DIY-appropriate tasks? They are additive - they add material to a space without altering the building’s pressure boundary, fire safety systems, or moisture management. They are also visually verifiable: you can see what you’ve done and confirm it looks correct.
The Air Sealing Threshold Where DIY Ends
This is where we part company with the standard advice. Most more guides & resources tell you that DIY insulation is fine “for simple jobs” and professional work is needed “for complex jobs.” That framing misses the point entirely. The complexity that matters is not the insulation installation; it is the air sealing that must precede it, and the documentation that must follow it.
The building science. Insulation does not stop air movement. Fiberglass and cellulose are air-permeable filters; when air moves through them, they perform at a fraction of their rated R-value. A 1995 Oak Ridge National Laboratory study - still the reference standard - demonstrated that a 15-mph wind through fiberglass batts reduces effective R-value by more than 50%. In a Pasadena attic, that “wind” is the stack effect: warm air escaping through ceiling penetrations in winter, hot attic air pressurizing downward in summer. The insulation you install is only as good as the air barrier beneath it.
Professional-grade air sealing tasks. These require materials, equipment, or training that sit beyond typical homeowner access:
- Top plate sealing with two-part polyurethane foam. The top plate - the horizontal framing member where wall studs meet ceiling joists - is the single largest source of attic air leakage in most homes. Sealing it requires pulling back existing insulation, drilling access holes, and injecting expanding foam that bonds to wood, drywall, and electrical penetrations. The foam must be fire-rated for exposed attic use; hardware-store canned foam is not.
- High-temperature caulk at flue penetrations. Metal flues for water heaters and furnaces expand and contract with cycling. Standard caulk cracks; high-temp silicone or intumescent sealant rated to 300°F+ is required. In Pasadena, where many 1920s-1950s homes in Madison Heights and the Chapman Woods area still have atmospherically vented gas water heaters in attic or closet locations, this is a common and critical detail.
- Intumescent sealant at top plates and soffits. California’s Title 24 energy code and fire safety provisions require intumescent - expansion-under-heat - sealants at certain penetrations. These materials are not sold at retail hardware stores; they are distributed through building science supply channels to contractors with appropriate training.
- Recessed light encapsulation. “Can lights” in ceilings are direct holes in your thermal and fire barrier. Proper encapsulation requires fire-rated covers - Tenmat or similar - sealed to the drywall with fire-rated caulk, then insulated over. The wrong cover or an unsealed edge creates both an efficiency loss and a fire code violation.
- Attic hatch and kneewall door assemblies. These access points require insulated, weatherstripped, and often fire-rated assemblies. A piece of foam board laid on the hatch is not sufficient; the assembly must maintain the pressure boundary and, in many Pasadena homes with conditioned attics or specific fire separation requirements, the fire barrier.
The common thread: these tasks require materials with specific fire, temperature, or expansion ratings, and they require judgment about where and how to apply them. A homeowner can buy a case of canned foam and a caulk gun; they cannot buy the product knowledge that tells them when canned foam will melt, off-gas dangerously, or create a code violation.
Measuring Your Work: The Blower-Door Gap
Here is the threshold we consider dispositive. If you cannot measure the air leakage rate of your home before and after your insulation work, you cannot know whether that work achieved its purpose. You can know that you installed R-38 batts; you cannot know whether your home performs as if it has R-38.
What a blower-door test measures. A blower door - a calibrated fan mounted in an exterior door frame - depressurizes the house to a standard 50 Pascals and measures the airflow required to maintain that pressure, expressed in CFM50 (cubic feet per minute at 50 Pascals). One number. It captures every leak in the envelope: attic bypasses, duct leakage to outside, window gaps, crawl space vents, the works. We have conducted blower-door tests in Pasadena homes that read 6,000 CFM50 before air sealing and 2,800 after - a 53% reduction that the homeowner could verify on the printed report we left behind.
Can a homeowner access this? Sometimes, with effort. Several paths exist:
- Rent from a building science training center. The Energy Conservatory (manufacturer of the Minneapolis Blower Door) maintains a list of certified trainers. Some rent equipment to trained homeowners. The training is typically a two-day course, $400-$600, and the rental runs $150-$250 per day. You must also purchase a manometer (pressure gauge) if not included.
- Hire an independent energy auditor. In Pasadena, HERS raters and BPI-certified auditors will conduct a standalone blower-door test for $300-$500. You perform your air sealing, then schedule a retest. This is the most practical path for a serious DIYer: you get professional measurement without committing to the full contractor scope.
- Utility program participation. SCE’s Energy Upgrade California program, when active, sometimes includes blower-door testing in assessment packages. Availability varies; check current program status.
The documentation gap. Even with test access, most DIYers lack the protocol knowledge to interpret results meaningfully. A blower-door reading of 3,500 CFM50 in a 2,000-square-foot Pasadena home: is that good? (It’s roughly average for a 1960s home, poor for new construction, improvable with targeted air sealing.) Without the reference data and the experience of hundreds of tests, the number is just a number. Our crews leave with a written interpretation - “your home now meets the 2019 Title 24 reference for leakage” - because the context matters as much as the figure.
The honest assessment: a motivated Pasadena homeowner can rent or hire the measurement. Few do. Of the thousands of homes we’ve assessed since 2016, we have encountered perhaps two dozen where the homeowner had pre-work blower-door data. The rest installed insulation over unquantified leakage and hoped for the best.
California Licensing: What Homeowners Can Legally Do
California draws a clear line between homeowner work and regulated contracting, and the line is not always where homeowners assume.
Homeowner exemption (B&P Code §7044). An owner of a single-family dwelling may perform construction work on their own home without a contractor’s license, provided they reside there and do not sell or lease the structure within one year of completion. This exemption covers insulation installation, attic air sealing, and related work. The exemption does not remove the obligation to comply with building codes, obtain permits where required, or meet fire safety standards - topics covered in our Insulation Permits, Codes & Inspections in CA: What You Need to Know.
Where licensing becomes mandatory. Several insulation-related tasks in Pasadena require a licensed contractor regardless of homeowner status:
- Spray foam insulation. Two-component polyurethane spray foam - the medium-density and high-density products used for roof decks, rim joists, and wall cavities - is classified as a “general engineering” or specialty insulation application. The applicator must hold a C-2 (Insulation and Acoustical) or C-20 (Warm-Air Heating, Ventilating and Air-Conditioning) contractor license, or work under the direct supervision of one. Homeowner exemption does not apply to spray foam application; the material is considered a regulated installation with fire, chemical, and ventilation safety requirements.
- Work affecting structural, electrical, or plumbing systems. If your insulation project requires moving, covering, or working within 3 inches of electrical wiring, you are in C-10 (Electrical) territory. If you disturb plumbing vents or combustion appliance venting, you trigger plumbing or mechanical licensing requirements. In Pasadena’s older neighborhoods - Linda Vista, the Arroyo Seco-adjacent areas, the Craftsman districts - these systems are often interwoven in ways that are not visually obvious.
- Permitted work. Pasadena Building and Safety requires permits for attic insulation when the work exceeds 25% of the ceiling area, involves spray foam, or includes alterations to the thermal envelope of a conditioned space. The permit application must list a licensed contractor unless the homeowner signs an owner-builder affidavit acknowledging full code compliance responsibility. Many homeowners do not realize that permit-triggering work performed without a permit can complicate future sales, insurance claims, and refinancing.
The practical boundary. A Pasadena homeowner may legally install fiberglass batts in their own attic. They may not legally apply spray foam. They may seal accessible penetrations with caulk and foam; they may not alter or encapsulate electrical fixtures without electrical code knowledge. The licensing framework reflects actual hazard: spray foam involves isocyanate exposure, proper ventilation during curing, and fire-rated thermal barriers. These are not “read the can and proceed” materials.
True Cost Comparison: DIY vs Contractor in Pasadena
Cost comparisons that only tally material receipts against contractor bids are misleading. The meaningful comparison includes performance, documentation, and the cost of the air sealing that makes insulation work.
DIY material and equipment costs (typical 1,500 sq ft Pasadena attic):
- Fiberglass batts, R-38, 40 bags: $480-$640 (Owens Corning AttiCat or equivalent)
- Hardware-store air sealing kit (caulk, foam, tape): $80-$140
- Protective equipment, lighting, access ladder: $120-$200
- Blower-door test (rental or hired): $300-$600
- Permit (if triggered): $180-$350
- DIY total: $1,160-$1,930
Professional contractor scope (same attic, with air sealing and documentation):
Most attic insulation jobs in a Pasadena home of this size, including comprehensive air sealing of top plates, can lights, and penetrations, plus blower-door verification, run between $2,800 and $4,500. The range reflects access difficulty, existing insulation removal needs, and the extent of air sealing required. Attic insulation in Pasadena varies by home age and condition; a 1920s Spanish with plaster ceilings and embedded knob-and-tube requires more preparation than a 1985 tract home with open joist bays.
The performance gap in dollars. Assume the DIY installation achieves effective R-20 performance (realistic for unsealed work) versus the contractor’s R-38 effective (with air sealing). In Pasadena’s climate, with SCE tiered rates running $0.28-$0.42/kWh in summer peaks, that gap translates to roughly $340-$520 in annual cooling and heating costs. Over ten years, the “savings” of DIY installation become a net cost of $1,500-$3,200 in excess energy use, assuming rates do not increase faster than inflation.
Documentation value. The contractor scope includes a written price before work starts, a written scope, a Documented Photo Record, and before-and-after blower-door readings. For homeowners who may sell within five to ten years - common in Pasadena’s mobile professional demographic - this documentation is a transferable asset. Buyers and their inspectors increasingly ask for energy performance documentation. “We had insulation blown in” is less persuasive than “here’s the blower-door report showing 3,200 CFM50 reduced to 1,800.”
The honest math: DIY is cheaper on day one if you value your time at zero and assume perfect execution. It is more expensive over the ownership period if the air sealing is incomplete, which it typically is without professional equipment and protocol.
Where DIY Fails in Pasadena Homes
Pasadena’s housing stock presents specific conditions that amplify the risks of DIY insulation work. These are not generic “older home” issues; they are predictable, recurrent conditions we document on every assessment.
Knob-and-tube wiring clearances (Title 24). California’s current energy code requires 3-inch clearance around knob-and-tube wiring where insulation is installed. The wiring itself is not inherently hazardous, but burying it in insulation traps heat, accelerates insulation degradation, and creates fire risk. The problem: knob-and-tube is often not visible from the attic access point. It runs through wall cavities, under attic floors, and across ceiling joists in patterns that only systematic tracing reveals. Our crews are trained to identify ceramic knobs, cloth-wrapped conductors, and the specific splice patterns that indicate active circuits. A homeowner laying batts over a buried active circuit is creating a code violation and a latent hazard.
Recessed light encapsulation in Spanish-style homes. Pasadena’s 1920s-1930s Spanish Colonial and Mediterranean Revival homes - concentrated in the Prospect Park, Bungalow Heaven, and San Rafael neighborhoods - were not built with recessed lighting. The cans were added later, often in the 1980s-2000s, by cutting into plaster-and-lath ceilings with minimal regard for the fire barrier or thermal boundary. The resulting assemblies are frequently non-IC (non-insulation-contact) rated fixtures in contact with loose fill, or IC-rated fixtures with degraded gaskets. Proper encapsulation requires removing the existing insulation, inspecting the fixture rating, installing an appropriate fire-rated cover, sealing to the ceiling plane, and reinstalling insulation. This is not accessible DIY work; it requires working knowledge of electrical fixture ratings and fire barrier continuity.
Attic hatch assemblies requiring fire-rated materials. Many Pasadena homes with attached garages or specific fire separation requirements - common in the post-war ranch tracts of Hastings Ranch and the mid-century areas near Caltech - need attic hatches with fire-rated assemblies. A piece of foam board and weatherstripping does not satisfy the one-hour fire separation requirement where it applies. The correct assembly includes a fire-rated door, intumescent seal, and proper frame installation. We have found DIY hatches that looked adequate but failed inspection on resale, requiring $800-$1,200 in rework.
Conditioned attic conversions. Pasadena’s recent ADU (accessory dwelling unit) boom has converted many vented attics into conditioned spaces. These assemblies require specific insulation strategies - typically spray foam insulation at the roof deck - with ventilation, moisture management, and code compliance that are not intuitive. A homeowner applying batts to a conditioned attic floor is insulating the wrong surface and creating a moisture trap.
Ductwork in unconditioned attics. SCE’s peak cooling loads in August make attic duct leakage particularly costly. A homeowner adding insulation over leaky ducts - common in 1970s-1990s Pasadena homes - is burying the problem, not solving it. Duct sealing with mastic, pressure testing, and proper insulation wrapping requires equipment and training that sit outside DIY range.
Material Selection: Brands and Applications
The insulation market offers genuine performance differences, and brand selection matters for specific applications. We specify from Owens Corning, Johns Manville, Knauf, Rockwool, CertainTeed, Icynene, Demilec, and GreenFiber depending on the job requirements - no proprietary lock-in, no single-source bias.
Fiberglass (batt and loose-fill): Owens Corning, Johns Manville, Knauf. Fiberglass dominates Pasadena retrofit work for cost-effectiveness and familiarity. Owens Corning’s AttiCat blown-in system is widely available for DIY rental; the material is the same product we install professionally, but the installation quality depends on even distribution and proper depth. Johns Manville and Knauf offer comparable R-values and densities. The key specification: density. Loose-fill fiberglass must achieve the manufacturer’s stated weight per square foot at the installed depth; under-blowing is the most common DIY error, leaving thin spots that read full depth but contain 30% less material.
Cellulose: GreenFiber. Recycled-content cellulose, treated with borate for fire and pest resistance, performs well in Pasadena’s dry climate. GreenFiber’s loose-fill product has higher density than fiberglass at equivalent R-value, reducing convection within the insulation layer. The DIY consideration: cellulose requires a more powerful blower than most rental units provide, and the dust loading during installation is significantly higher than fiberglass. Respiratory protection is non-negotiable.
Spray foam: Demilec, Icynene. These are professional-application products, not DIY materials. Demilec’s Heatlok HFO High Lift and similar medium-density closed-cell foams are specified for roof deck applications in conditioned attics and for rim joist sealing in crawl spaces. The chemistry requires precise temperature control, substrate preparation, and application thickness monitoring. Off-ratio foam - from equipment malfunction or operator error - shrinks, cracks, and underperforms. This is why California requires licensed applicators.
Mineral wool: Rockwool, Owens Corning Thermafiber. Higher fire resistance and better sound attenuation than fiberglass, with comparable thermal performance. Mineral wool batts are stiffer and more dimensionally stable, making them easier to install cleanly in wall cavities. The weight is higher; ceiling applications require proper support. For Pasadena homeowners working in garage ceilings or party walls where fire rating matters, mineral wool is often the correct specification.
The brand is less important than the application match and the installation quality. A perfectly specified material installed over unsealed bypasses performs poorly regardless of brand premium.
Common Mistakes to Avoid
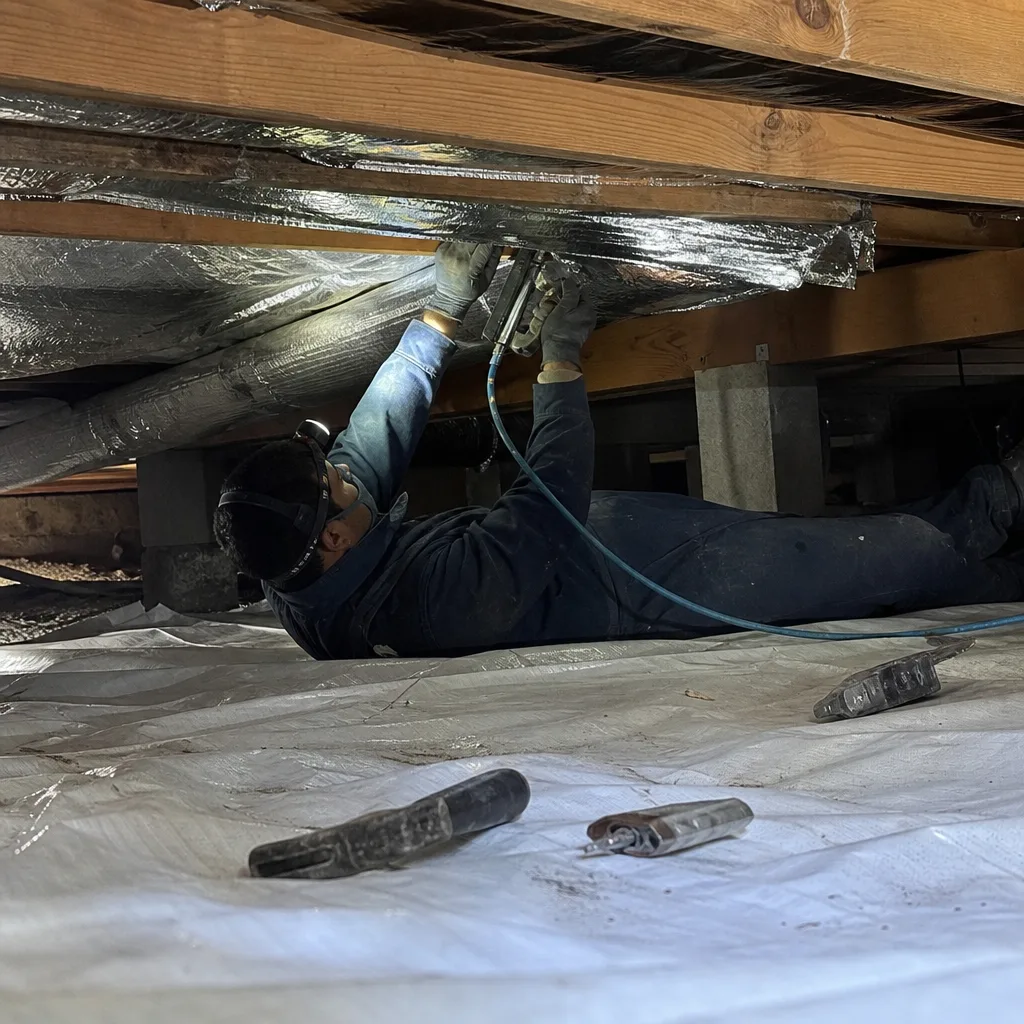
- Installing insulation over unsealed top plates. The gap between wall drywall and ceiling drywall at every exterior wall is a direct air path to the attic. Blowing insulation over this gap buries it but does not seal it; conditioned air continues to bypass the insulation layer. In Pasadena’s summer, this shows up as hot walls and high afternoon cooling loads.
- Compressing batts to fit. Fiberglass and mineral wool achieve their R-value at stated thickness. A 6.25-inch batt stuffed into a 5.5-inch cavity performs at roughly R-17, not R-21. The temptation to “make it fit” is strong in older Pasadena homes with non-standard joist spacing; resist it, or use the correct product thickness.
- Covering non-IC recessed lights. Standard recessed light fixtures generate heat that must dissipate. Covering them with insulation - without a fire-rated encapsulation assembly - creates a fire hazard and violates Title 24. This is the most common dangerous DIY condition we find in Pasadena’s post-war housing stock.
- Blocking soffit vents with insulation. Attic ventilation requires continuous airflow from soffit to ridge. Insulation pushed tight to the roof deck at the eaves blocks this path, trapping moisture and accelerating shingle degradation. Baffles - cardboard or foam channels - must maintain a 2-inch clear air space.
- Ignoring the attic hatch. An uninsulated, unsealed attic hatch is a 3-5 square foot hole in your thermal envelope with an effective R-value near zero. Yet homeowners will meticulously install R-38 across the attic and leave a plywood hatch with a pull string. Proper assembly: insulated cover, weatherstripped seal, latch or latch equivalent to maintain compression.
- Neglecting to document before-and-after conditions. Even DIY work benefits from photographic documentation. We provide a Documented Photo Record on every job because disputes, warranty claims, and future work all reference the original condition. A homeowner who installs insulation without photos has no baseline for “what was there before.”
When to Call a Professional
Call a professional when your project crosses any of these thresholds: spray foam application (legally required, as explained in our How to Hire a Insulation Contractor in Pasadena: A Step-by-Step Guide); knob-and-tube wiring present or suspected; recessed lights requiring encapsulation; conditioned attic or roof deck insulation; ductwork in the attic that needs sealing before burial; any project where you want documented blower-door verification of performance; or any situation where you are not certain of the fire safety requirements.
Topside Attic Insulation Pasadena offers free estimates in Pasadena - call (213) 816-5351. Every estimate includes a written scope, a written price before any work starts, and a clear statement of what documentation you will receive. Under the Haven Standard, we do not begin work without these documents in place. If you are comparing a DIY approach to professional installation, bring us your material list and planned scope; we offer a Free Second Opinion on any written estimate, and we will walk through the performance gaps you may not have accounted for.
Frequently Asked Questions
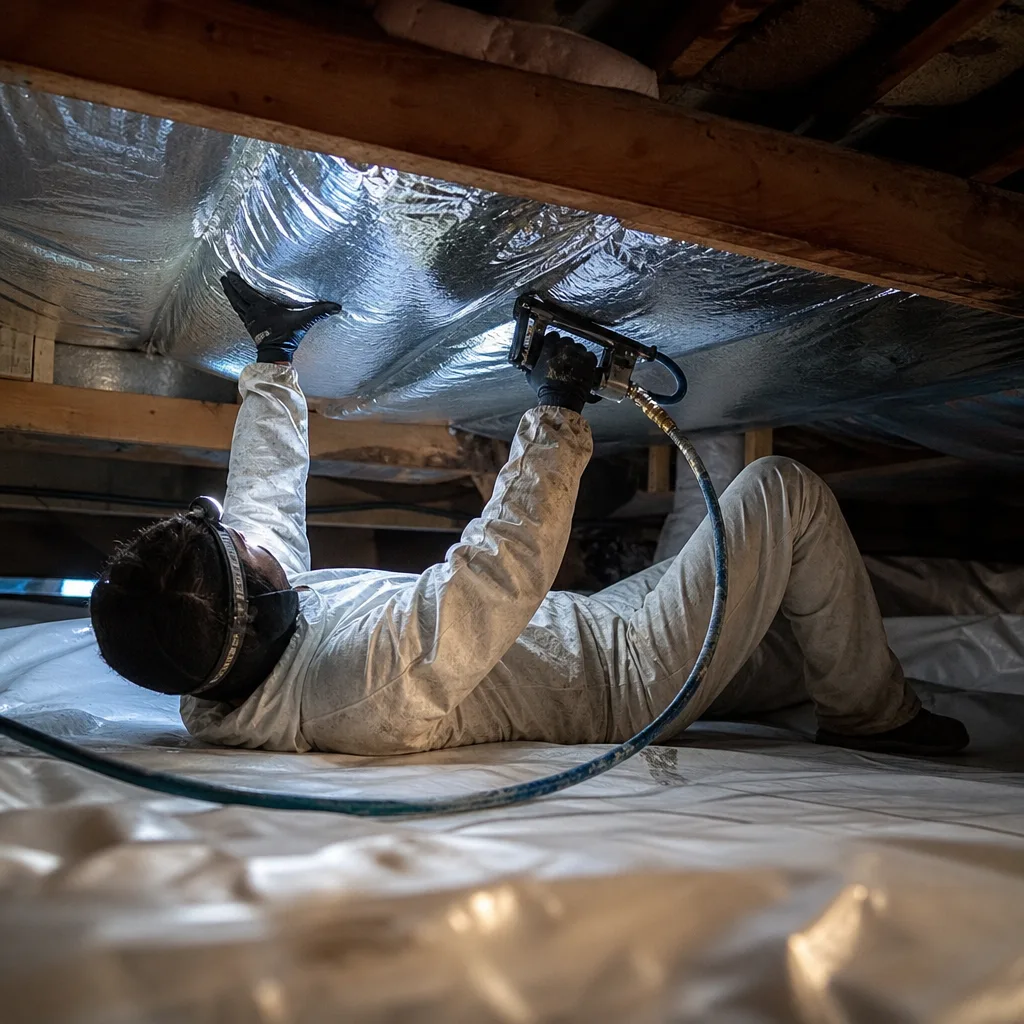
Professional attic insulation with air sealing and blower-door documentation in a typical 1,500-square-foot Pasadena home runs $2,800-$4,500, while DIY materials and equipment for the same space cost $1,160-$1,930. The gap narrows when you factor in the energy cost of unsealed bypasses, which typically reduce effective insulation performance by 30-50% and add $340-$520 annually to SCE bills. Call (213) 816-5351 for a written price on your specific home - estimates are free.
No. Two-component polyurethane spray foam application requires a C-2 or C-20 licensed contractor in California; the homeowner exemption does not apply. The restriction reflects actual hazards: isocyanate exposure during application, fire-rated thermal barrier requirements, and the need for precise on-site chemical monitoring. For roof deck and rim joist applications in Pasadena, professional application is both legally required and practically necessary.
A blower-door test is a pressurization reading that shows, in one number, how much air your building envelope is losing, measured in CFM50. A motivated homeowner can rent equipment from building science training centers after certification, or hire an independent HERS rater or BPI auditor for $300-$500 per test. The harder part is interpreting the number in context and identifying the specific leakage paths it represents. Our crews provide written interpretation with every test, including reference to Title 24 standards where applicable.
Active knob-and-tube wiring requires 3-inch clearance from insulation under current Title 24 requirements, and the wiring must be verified de-energized or properly routed before insulation is added. In Pasadena’s pre-1940 housing stock - Bungalow Heaven, Madison Heights, the Arroyo-adjacent districts - knob-and-tube is common and often partially active. We recommend professional assessment before any insulation contact; misidentification creates fire hazards that homeowners insurance may not cover.
Look for an “IC” (insulation contact) rating stamped on the fixture interior, and verify that the gasket and thermal protector are intact. Non-IC fixtures cannot have insulation within 3 inches. However, even IC-rated fixtures in older Pasadena homes often have degraded gaskets or were installed with improper ceiling penetration sizing. Professional encapsulation with fire-rated covers - Tenmat or equivalent - sealed to the drywall plane is the only approach we consider reliably safe and code-compliant.
You should receive, before work starts: a written price, a written scope of work, and a written warranty. After work completes: a Documented Photo Record of conditions and installation, and on applicable jobs, before-and-after blower-door readings showing the air leakage reduction achieved. Under the Haven Standard, these documents are mandatory, not optional. Any contractor who cannot provide them is not providing verifiable work.
The Bottom Line
The DIY-versus-professional question for Pasadena homeowners is not about whether you can carry batts into an attic. It is about whether you can seal the air leaks that determine if those batts perform at their rated value, and whether you can document that performance with measured data. The insulation industry has spent decades selling material R-value as the metric that matters; the building science is clear that installed performance - R-value minus the degradation from air movement - is what shows up on your utility bill. A homeowner with training, equipment access, and diagnostic discipline can achieve professional-grade results on limited, well-defined scopes. Most homeowners lack one or more of those prerequisites, and in Pasadena’s specific conditions - knob-and-tube wiring, Spanish-style ceiling assemblies, Title 24 fire requirements - the cost of guessing is higher than the savings of doing it yourself. The decision threshold is measurable: if you cannot blower-door test before and after, you cannot verify your work, and unverified work is speculation dressed as improvement.
Written by Wes Okafor, Owner at Topside Attic Insulation Pasadena, serving Pasadena since 2016.