
Last updated September 23, 2026
Attic Insulation Maintenance Checklist for Pasadena Homeowners
A single HVAC technician walking across unbacked fiberglass batts during a tune-up can reduce effective R-value by 30 percent in the areas they cross, and no one writes that in the service report. In Pasadena, where summer attic temperatures routinely exceed 140°F and Santa Ana winds drive fine dust through every gap in the envelope, insulation degrades through a predictable sequence of small events rather than sudden failure. This guide gives you a 20-minute annual inspection routine to catch those events before they become a full our Attic Insulation services job. You’ll learn to read your ceiling like a thermal map, spot roof rat activity before it destroys R-value, and document conditions so you have a baseline for every year that follows.
Quick Answer
Attic insulation maintenance in Pasadena means an annual 20-minute inspection for compressed or displaced batts, blown-in depth loss, blocked soffit vents, and pest intrusion, plus a ceiling temperature scan with an infrared thermometer to locate hidden gaps, as covered in The Complete Guide to Insulation in Pasadena. Most insulation degradation here is caused by foot traffic during HVAC service, Santa Ana wind-driven dust loading, and roof rat nesting in the San Gabriel Valley. Document what you find with dated photos and depth measurements at five attic quadrants; when blown-in has settled more than 20 percent below original depth or you find pest activity, it’s time for professional assessment.
Table of Contents
- Why Insulation Fails Gradually in Pasadena
- The 20-Minute Annual Inspection Routine
- Ceiling Temperature Mapping with an Infrared Thermometer
- Reading Your Insulation Type: What to Look For
- Soffit-to-Ridge Airflow: The Baffle Inspection
- Measuring Settled Depth: When a Top-Off Is Needed
- Pest Intrusion: Roof Rats and Thermal Performance
- Documentation: What to Keep and Why
Why Insulation Fails Gradually in Pasadena
Insulation does not fail overnight. It fails by degrees, and Pasadena’s climate accelerates specific failure modes that homeowners in cooler, calmer regions rarely see.
The first accelerator is thermal cycling. Pasadena’s summer attic temperatures regularly reach 140°F to 150°F, while winter nights can drop below 40°F. That 100-degree daily swing, repeated for months, causes fiberglass batts to become brittle and break along fold lines. Blown cellulose, which we see frequently in Bungalow Heaven and Madison Heights renovations, oxidizes and settles faster under constant heat load than it does in mild coastal zones.
The second accelerator is Santa Ana wind events. These hot, dry winds pressurize attic spaces and drive fine dust through ridge vents, gable vents, and any unsealed penetration. Over three to five years, we’ve measured dust loading of 1/4 inch to 1/2 inch on top of blown insulation in homes near the foothills. That dust layer reduces the effective R-value because it fills air pockets that provide the actual thermal resistance. It also adds weight to cellulose, accelerating compression.
The third accelerator is mechanical disruption from service trades. Pasadena’s housing stock, particularly the 1920s to 1950s homes in neighborhoods like Lamanda Park and Victory Park, has attics that were not designed for modern HVAC equipment. Technicians must walk the attic floor to reach air handlers, ductwork, or damper controls. Every footstep compresses fiberglass or displaces blown material. We’ve inspected attics where a decade of annual HVAC tune-ups has created a trail of near-zero R-value leading directly to the air handler platform.
The fourth accelerator, specific to the San Gabriel Valley, is roof rat activity. These pests do not merely nest in insulation; they tunnel through it, compressing pathways that become permanent air channels. Their urine and feces also degrade cellulose fibers. By the time a homeowner hears scratching or sees droppings in the garage, the thermal damage is already extensive.
Understanding these four failure modes changes how you inspect. You’re not looking for a single catastrophe. You’re looking for the small, accumulating damage that precedes one.
The 20-Minute Annual Inspection Routine
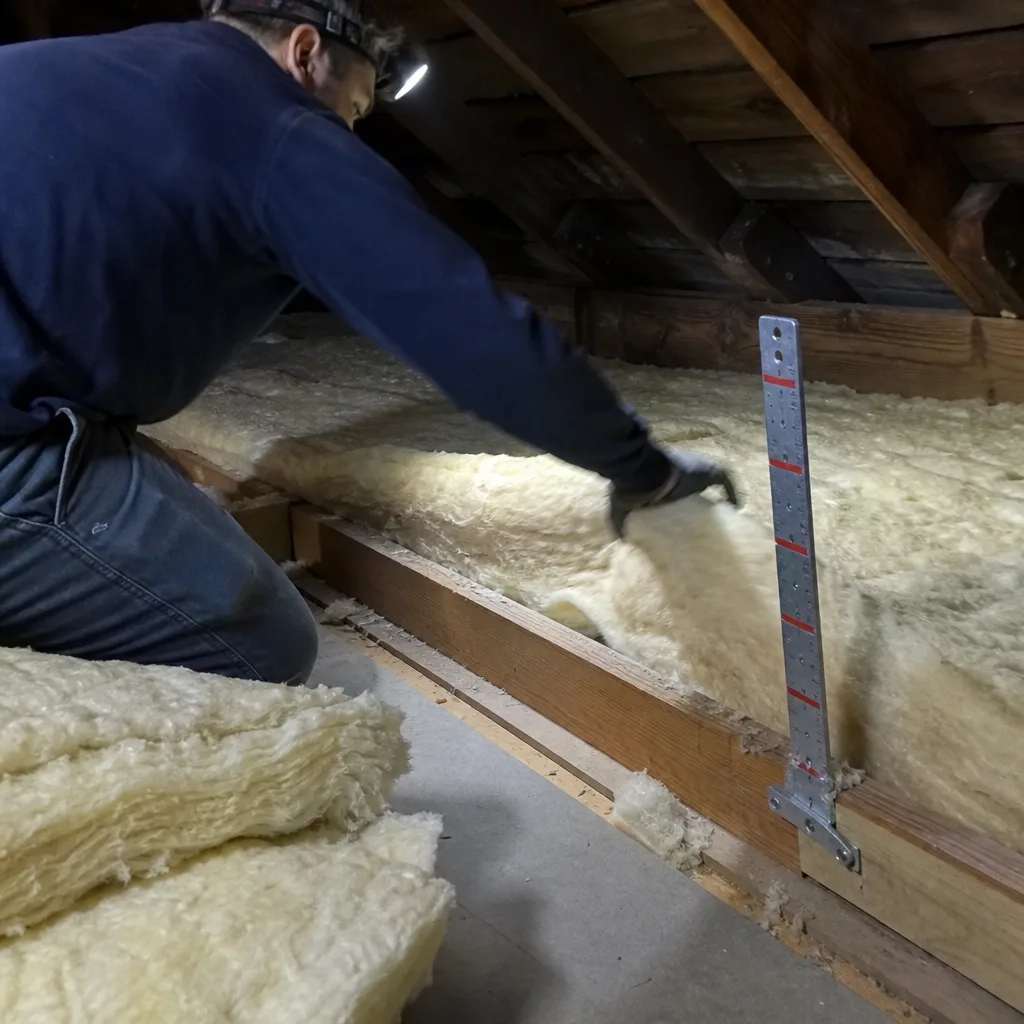
Do this inspection in late October or early November, after the worst summer heat has passed and before you begin heating the house. The attic will be tolerable, and you’ll catch any summer damage before winter energy bills arrive.
What You’ll Need
- Headlamp or bright flashlight
- Dust mask (N95 minimum)
- Knee pads or a piece of plywood to kneel on
- Measuring tape or yardstick
- Infrared thermometer (around $30 at any hardware store)
- Smartphone for photos
- Notebook or notes app
The Inspection Sequence
- Enter and observe without moving. Stand at the attic access and scan with your headlamp. Look for obvious displacement: batts pulled aside, blown material piled against a wall, or trails where someone has walked. Photo the overall condition before you disturb anything.
- Check the access hatch itself. In Pasadena, we frequently find the hatch uninsulated or poorly sealed. Heat radiates directly through a thin plywood hatch. If yours lacks a rigid foam cap or weatherstripping, that’s your first maintenance item.
- Walk the attic floor on joists or a plank. Never step on drywall ceiling. Test three to five areas by gently pressing the insulation surface. Fiberglass batts should spring back; if they stay compressed, they’ve lost loft. Blown material should feel loose and deep; if you hit the drywall quickly, settling has occurred.
- Inspect around all penetrations. Check where electrical wires, plumbing vents, chimney chases, and HVAC ducts pass through the ceiling plane. These are the points where air sealing fails first, and where Santa Ana dust enters. Look for dark staining on insulation near leaks; that’s filtered dust showing you where air is moving.
- Locate and inspect baffles. These are the cardboard or foam channels that keep soffit vents open as insulation is piled against them. We’ll detail this in a dedicated section below.
- Photograph and measure. Take depth readings at five points: center and four quadrants. Note any pest evidence, water staining, or compressed areas. Date everything.
Twenty minutes is sufficient for attics under 1,500 square feet. Larger attics in Pasadena’s estate neighborhoods like San Rafael or Linda Vista may take 35 minutes. The point is consistency: same month, same method, same documentation format every year.
Ceiling Temperature Mapping with an Infrared Thermometer
This is the technique most competitors never mention, and it’s the fastest way to find hidden insulation problems without entering the attic at all.
An infrared thermometer measures surface temperature from a distance. On a summer afternoon when your air conditioner has been running steadily, the drywall ceiling beneath well-insulated attic space should read within 5°F of your indoor air temperature. Where insulation is missing, compressed, or displaced, ceiling surface temperature will be 10°F to 25°F warmer. On a winter morning, the pattern reverses: cold spots where heat escapes.
How to Perform the Scan
- Choose a hot summer afternoon or cold winter morning with at least a 20-degree temperature difference between indoors and outdoors.
- Set your thermostat to normal occupancy temperature and let the system run for one hour to reach equilibrium.
- Starting in one corner of each room, aim the thermometer at the ceiling and record the reading. Move in a grid pattern, approximately every three feet.
- Mark significant variations on a rough floor plan. In Pasadena’s older homes with remodeled additions, pay special attention to where original construction meets newer work; we frequently find insulation gaps at these junctions.
- Compare year to year. A spot that read 78°F last summer and reads 88°F this summer has degraded, even if you cannot see why from below.
The infrared map tells you where to look when you do enter the attic. It also documents change over time. We’ve had Pasadena homeowners bring us three years of ceiling temperature maps that clearly showed progressive failure; that documentation made the repair scope obvious and eliminated guesswork.
One caveat: vaulted ceilings and rooms with cathedral construction will read warmer in summer regardless of insulation condition because the roof deck is closer to the drywall. Compare these rooms to themselves over time, not to flat-ceiling rooms.
Reading Your Insulation Type: What to Look For
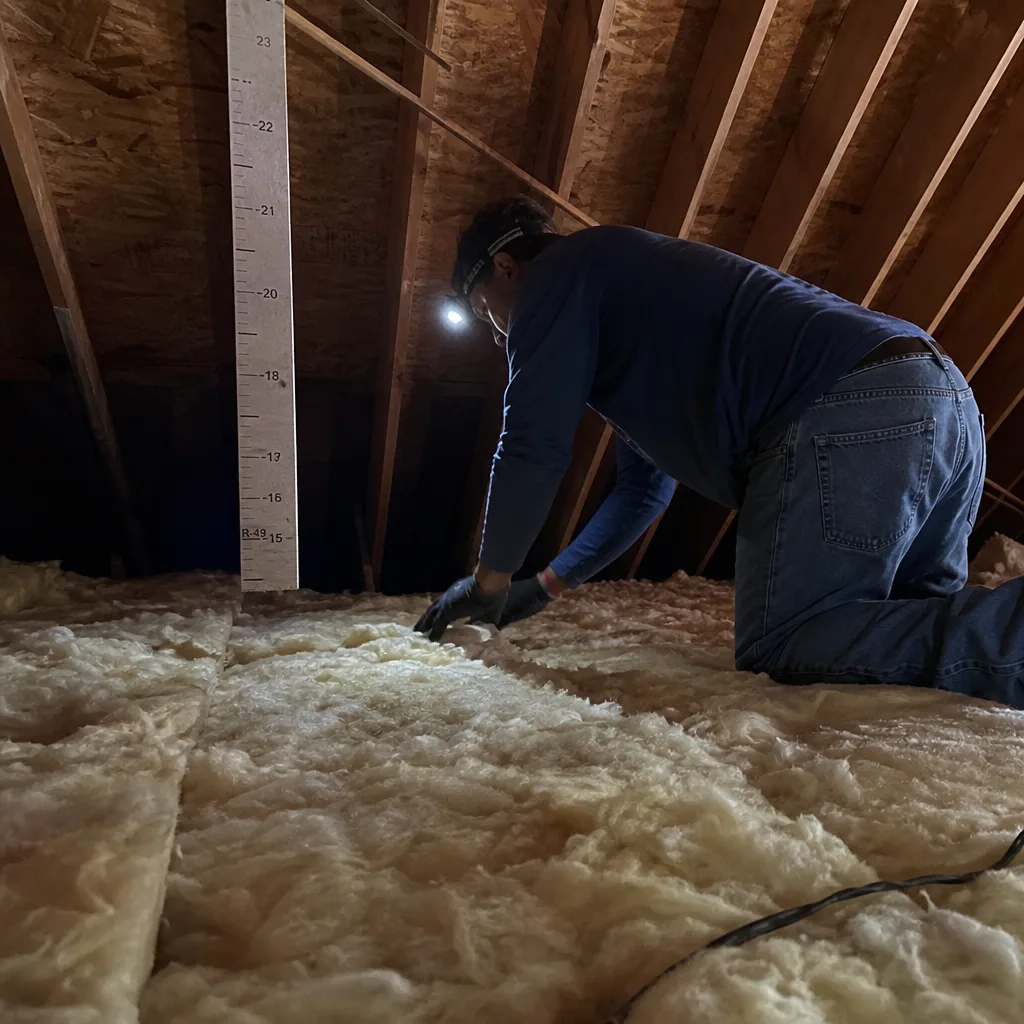
Pasadena homes contain four common insulation types, each with distinct failure signatures. Knowing what you have changes what you look for.
Fiberglass Batts
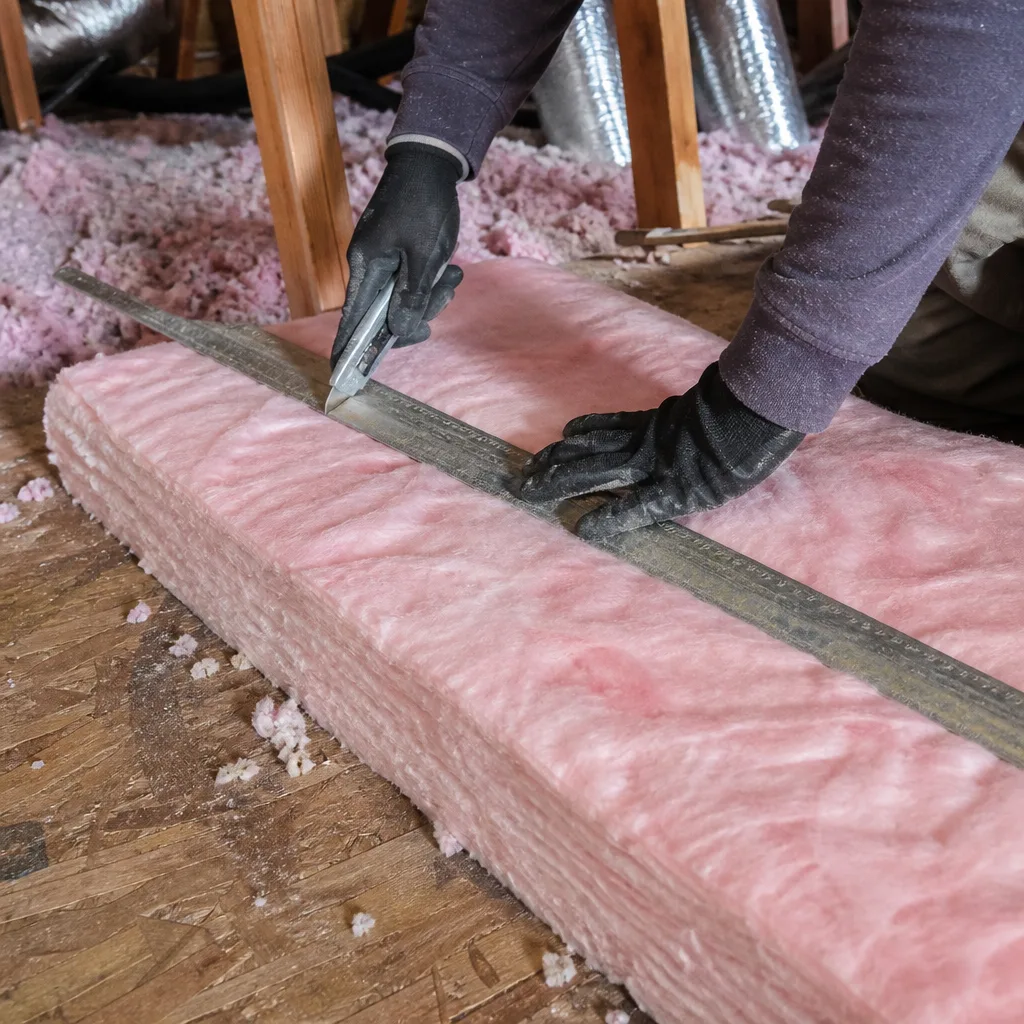
These pink or yellow blankets are still common in homes built before 1990 and in DIY installations. The critical failure mode is compression and displacement. A batt rated R-30 that has been walked on or had storage boxes placed on it may perform at R-15 or lower. Look for:
- Batts that no longer fill the full joist cavity depth
- Gaps at the edges where batts have shifted away from framing
- Tears or breaks along fold lines from thermal cycling
- Dark surface staining indicating air leakage through the batt (dust filtration)
- Unbacked batts (no paper or foil facing) that have been disturbed by foot traffic
Knauf and CertainTeed both produce high-density batts that resist compression better than standard products, but no fiberglass batt tolerates being walked on repeatedly.
Blown Cellulose
Made from recycled paper fiber treated with borate fire retardant, cellulose is common in Pasadena retrofits. It settles. The question is how much. Original installation depth should be documented on your permit or on the bags left by the contractor. Measure current depth against that baseline. Look for:
- Uniform settling across the attic (normal, expected)
- Troughs or channels where someone has walked or where air is moving
- Dark streaks or clumping indicating moisture intrusion
- Pest disturbance: tunnels, nesting material, or compressed pathways
Cellulose performs well in Pasadena’s dry climate but is more susceptible to roof rat damage than fiberglass. The borate treatment deters insects but does not prevent rodent nesting.
Blown Fiberglass
White, fluffy, and lighter than cellulose, blown fiberglass (we see Johns Manville and CertainTeed products frequently) settles less but is more easily displaced by wind or foot traffic. Look for:
- Scoured areas near attic vents where Santa Ana winds have moved material
- Thin spots around HVAC platforms and near access hatches
- Contamination from dust or pest activity
Spray Foam
Open-cell and closed-cell spray foam, including products from Icynene and Demilec, are increasingly common in Pasadena renovations. These materials do not settle or compress, but they can degrade:
- UV exposure through gable vents or openings causes surface yellowing and brittleness
- Mechanical damage from subsequent trades cutting into foam to run new wiring
- Shrinkage at the perimeter in poorly mixed applications (rare but visible as gaps)
Spray foam should be inspected visually but does not require depth measurement. The critical check is completeness: foam that was supposed to cover the entire roof deck or attic floor but has gaps or thin spots.
Soffit-to-Ridge Airflow: The Baffle Inspection
Pasadena’s June-gloom pattern creates a specific moisture risk. Cool, moist marine air enters soffit vents on overcast mornings, meets attic surfaces heated by previous days, and condenses on the underside of the roof deck. Without continuous airflow from soffit to ridge, that moisture accumulates. We’ve found mold on roof sheathing in Pasadena attics where baffles were blocked or never installed.
Baffles, also called vent chutes or rafter vents, are the channels that keep insulation from blocking soffit vents while allowing air to flow upward along the roof deck to the ridge vent. They’re typically cardboard, foam, or thin plastic, installed between rafters where the attic floor meets the eave.
How to Inspect Baffles
- Locate the eave area where the attic floor meets the exterior wall top plate. This is usually the lowest, most awkward space in the attic.
- Look for the baffle extending from the soffit vent opening up the rafter bay, creating a clear air channel above the insulation.
- Verify the baffle is not crushed, torn, or displaced by insulation. Blown material often piles against baffles and pushes them out of position.
- Confirm daylight or airflow is visible at the soffit end. If the baffle is blocked, you’ll see insulation packed against it and no light penetration.
- Check that insulation does not cover the soffit vent opening. The baffle’s job is to hold insulation back; if insulation has spilled past it, the vent is blocked.
In Pasadena’s hillside neighborhoods like Hastings Ranch, where roof pitches are often steeper and attics more complex, baffle inspection is more difficult but more critical. Complex roof geometry creates dead air zones where moisture lingers. If you cannot safely reach eave areas, document this and call for professional assessment.
The consequence of blocked baffles is not immediate. It’s cumulative moisture damage to roof sheathing, typically visible as dark staining or, in advanced cases, delamination of plywood. Caught early, it’s a baffle replacement. Caught late, it’s roof deck repair.
Measuring Settled Depth: When a Top-Off Is Needed
Blown insulation settles. This is not failure; it’s physics. The question is whether settled depth still provides the R-value your home needs.
Pasadena sits in Climate Zone 3B, where the current energy code calls for attic insulation at R-38 to R-49 for new construction and major renovations. Existing homes are not required to meet current code, but they should perform to the standard that was intended when the insulation was installed. That original standard is usually documented on the building permit or on the insulation bags if the previous contractor left them.
The Five-Point Measurement Method
- Divide the attic into four quadrants plus a center point.
- At each point, use a yardstick or measuring tape to probe gently through the insulation until you hit drywall or the original ceiling surface. Do not force the probe; stop at resistance.
- Record depth at each point to the nearest half-inch.
- Calculate the average.
- Compare to original installed depth, not labeled R-value depth. If original installation was 14 inches of cellulose (approximately R-49 when new) and you now measure 10 inches, you’ve lost roughly 25 percent of volume and more than 25 percent of R-value because settling is denser at the bottom.
A top-off is warranted when:
- Average settled depth is more than 20 percent below original installed depth
- Any quadrant measures more than 30 percent below original depth (uneven settling indicates a problem)
- The home’s energy bills have risen without rate increases or occupancy changes
- Ceiling temperature mapping shows expanding warm zones
We do not recommend DIY top-offs for most Pasadena homeowners. Proper depth requires even distribution, and without experience, it’s easy to block soffit vents, cover electrical junction boxes, or create uneven coverage that performs worse than the settled material beneath it. Attic Insulation in Pasadena should include air sealing before any new material is added; blowing insulation over an unsealed attic floor, as we see too often, simply buries the leaks without fixing them.
Pest Intrusion: Roof Rats and Thermal Performance
Roof rats, Rattus rattus, are endemic to the San Gabriel Valley. They are excellent climbers, they prefer attics to ground-level nesting, and they destroy insulation in ways that are not always visible from a casual inspection.
The thermal damage precedes the visible damage. A roof rat tunneling through blown cellulose creates a compressed pathway that remains after the rat is gone. That pathway is an air channel, bypassing the insulation entirely. A single main tunnel with several branches can reduce effective attic R-value by 15 percent to 25 percent in the affected area, even if the insulation surface looks nearly normal.
Signs of Roof Rat Activity
- Tunnels or runways in blown insulation, visible as compressed trails 2 to 3 inches wide
- Nesting material: shredded paper, fabric, or insulation gathered into a loose ball 6 to 12 inches across
- Droppings: dark, spindle-shaped, roughly 1/2 inch long, often concentrated along beams or near nesting sites
- Urine stains visible under UV light (a blacklight flashlight reveals these as pale blue streaks)
- Gnaw marks on wood, wiring insulation, or PVC vent pipes
- Nocturnal scratching sounds, especially in the hour after sunset
Cellulose insulation shows rat damage more obviously than fiberglass because rats can tunnel through it more easily. Fiberglass batts are typically pushed aside or compressed rather than tunneled. In either case, the insulation must be removed and replaced in affected areas; compressed or contaminated material cannot be restored to original R-value.
Pest activity also voids any warranty from the original insulation contractor, and it complicates new installation. Before we install replacement insulation at any Pasadena home with prior rat activity, we require proof of professional exclusion work: sealed entry points, typically 1/4-inch mesh over vents, and often tree trimming to eliminate roof access routes. Without exclusion, new insulation becomes nesting material within a season.
For homes with chronic roof rat problems, we sometimes recommend Rockwool (mineral wool) insulation for affected areas. Its density and fiber structure make it less attractive for nesting, though it costs more than fiberglass or cellulose and requires different installation technique.
Documentation: What to Keep and Why
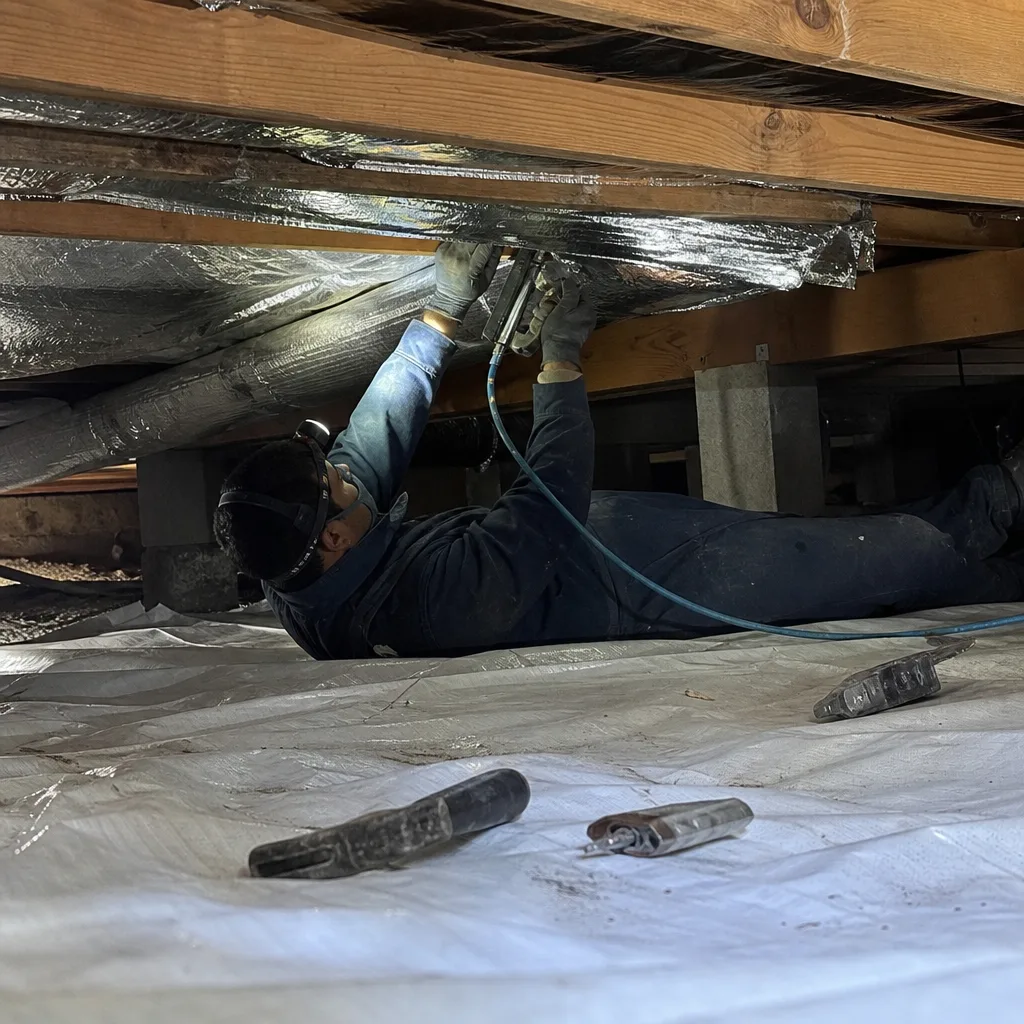
The homeowner who can show a five-year paper trail of attic condition gets better service, more accurate scopes, and fairer pricing. Documentation eliminates dispute and enables comparison.
What to Document Annually
- Dated photographs: Wide shots showing overall attic condition, close-ups of any problem areas, and photos of all depth measurement points. Store these with the date in the filename.
- Depth measurements: The five-point readings, with location notes. “Northwest quadrant, near HVAC platform: 9.5 inches.”
- Ceiling temperature map: Your infrared thermometer readings, sketched on a floor plan or noted by room and location.
- Blower-door readings: If you’ve had professional air sealing or energy audit work, the before-and-after CFM50 numbers are the single most useful performance metric you can own. A blower-door test - a pressurization reading that shows, in one number, how much air your building envelope is losing - provides objective proof of improvement or degradation over time.
- Permits and contractor documentation: Original installation records, product labels, and warranties.
Why This Matters
When you call for service, documented history lets the technician focus on what’s changed rather than reconstructing baseline conditions. When you sell your home, documentation of insulation condition and energy performance is a tangible asset. And when you need to dispute a contractor’s scope or warranty claim, dated photos and measurements are evidence.
Under Haven Standard: Have it in writing. We deliver a Documented Photo Record on every visit, included, not available on request. Our customers in Pasadena neighborhoods from Garfield Heights to Oak Knoll receive a folder of before, during, and after images, plus blower-door readings on applicable jobs, so they know exactly what was done and how it performed.
If you’re starting your documentation practice now, create a digital folder labeled “Attic [Year]” and populate it with this year’s inspection. Next year, create “Attic [Year+1]” and compare. The practice takes ten minutes and pays for itself many times over.
Common Mistakes to Avoid
- Walking on the ceiling drywall. We’ve seen homeowners fall through into rooms below. Always walk on joists or a plank laid across joists. If you cannot do this safely, inspect from the attic hatch or use the infrared thermometer method from below.
- Blowing new insulation over old without air sealing first. This is the most common error in Pasadena retrofits. New material buries leaks but does not stop them; conditioned air still escapes, and the new insulation becomes a filter for dust and moisture. Air sealing of top plates, can lights, and penetrations must precede any new insulation.
- Ignoring the access hatch. A 1/2-inch plywood hatch with no insulation or weatherstripping is a square foot of R-1 in an otherwise R-38 attic. Heat radiates through it visibly on infrared scans. Rigid foam caps or pre-insulated hatch kits are inexpensive and effective.
- Storing items on attic insulation. Every box, every board, every holiday decoration compresses material beneath it. In Pasadena’s smaller vintage attics, storage temptation is high, but the thermal penalty is real. If you must store in the attic, build a raised platform above the insulation, not on it.
- Blocking soffit vents with insulation during a DIY top-off. This happens constantly. The homeowner adds material, pushes it to the eave, and unknowedly covers the vent. Moisture problems follow within two to three years, especially in Pasadena’s June-gloom season.
- Assuming spray foam is maintenance-free. Foam is durable but not eternal. UV damage, mechanical disruption from subsequent trades, and occasional shrinkage at the perimeter all require visual inspection. We’ve found foam installations in Pasadena where HVAC contractors cut large access holes and never sealed them.
- Waiting for high energy bills to signal a problem. By the time bills rise measurably, insulation degradation is advanced. The annual inspection catches issues when they’re small and cheap to address.
When to Call a Professional
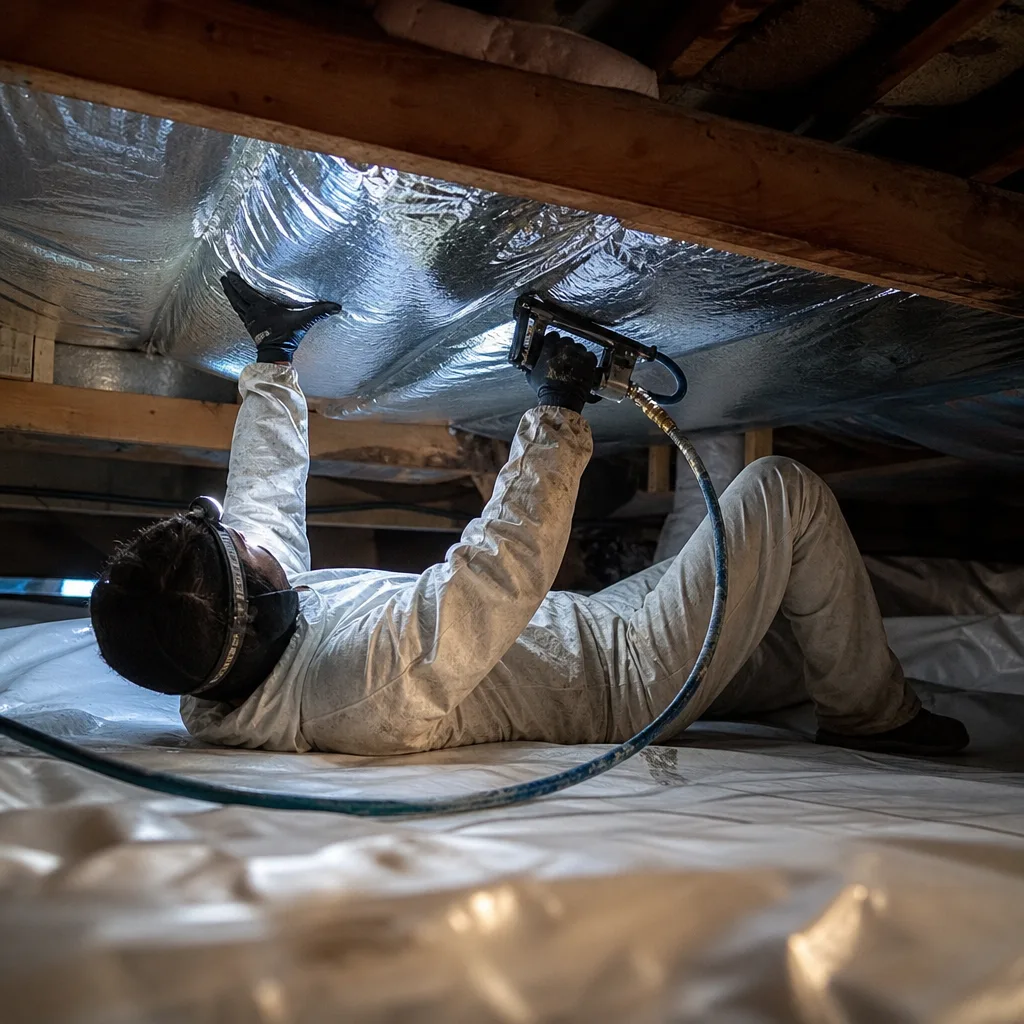
Call for assessment when your inspection reveals any of the following: pest activity or contamination, moisture staining or mold on roof sheathing, insulation depth more than 20 percent below original installation, blocked soffit vents you cannot safely clear, or any ceiling temperature variation exceeding 15°F from room average. For help deciding whether to tackle issues yourself, see DIY vs Professional Insulation: The Pasadena Homeowner’s Decision Guide. Also call if your attic has knob-and-tube wiring, which requires specialized knowledge to work around safely.
Topside Attic Insulation Pasadena offers free estimates in Pasadena - call (213) 816-5351. We’ll review your documentation with you, perform a blower-door test if indicated, and provide a written scope and written price before any work starts. That’s Haven Standard Clause 1, no exceptions. We also offer a Free Second Opinion on any written estimate; bring us a competing quote and we’ll read it with you.
Frequently Asked Questions
Once per year, in late October or early November, using the 20-minute routine described in this guide and expanded in more guides & resources. Pasadena’s summer heat and Santa Ana wind season create the most stress; inspecting after both have passed lets you catch damage before winter heating bills arrive. Call (213) 816-5351 if you find anything concerning - estimates are free.
Only after air sealing is complete. Adding new material over unsealed leaks buries the problem without fixing it. At Envelope Insulation Co., we never blow insulation over an unsealed attic floor; air sealing of top plates, can lights, and penetrations is completed first, with before-and-after blower-door numbers to verify the result. If a contractor proposes adding material without sealing first, get a second opinion.
Current California Energy Code calls for R-38 to R-49 in Climate Zone 3B, where Pasadena sits. Existing homes are not required to meet current code, but performance typically degrades below R-30 before comfort and energy costs become noticeable problems. If your measured depth corresponds to R-25 or below, a top-off or replacement is worth considering. Call (213) 816-5351 for an assessment with written pricing.
Look for compressed tunnels in blown insulation, nesting material, spindle-shaped droppings roughly 1/2 inch long, and nocturnal scratching sounds. In Pasadena’s San Gabriel Valley location, roof rat pressure is higher than in coastal areas. Thermal damage from tunneling precedes visible damage, so inspect carefully even if you haven’t heard activity. Professional exclusion must precede any insulation replacement; without it, new material becomes nesting material.
Localized compression or displacement can sometimes be repaired by repositioning batts or adding a targeted top-off. Contamination, pest damage, or widespread settling below R-30 equivalent requires replacement. The cheapest long-term solution is prevention: annual inspection, air sealing before insulation work, and documentation that catches problems early. We provide written pricing for both repair and replacement options so you can compare.
Minor air sealing and targeted top-offs sometimes can be completed same-day if materials are on the truck and the scope is limited. Full replacement, pest-contaminated removal, or jobs requiring blower-door verification typically require scheduling. What we can do on every visit: provide a written price before any work starts, with a documented photo record of conditions. Call (213) 816-5351 to schedule.
The Bottom Line
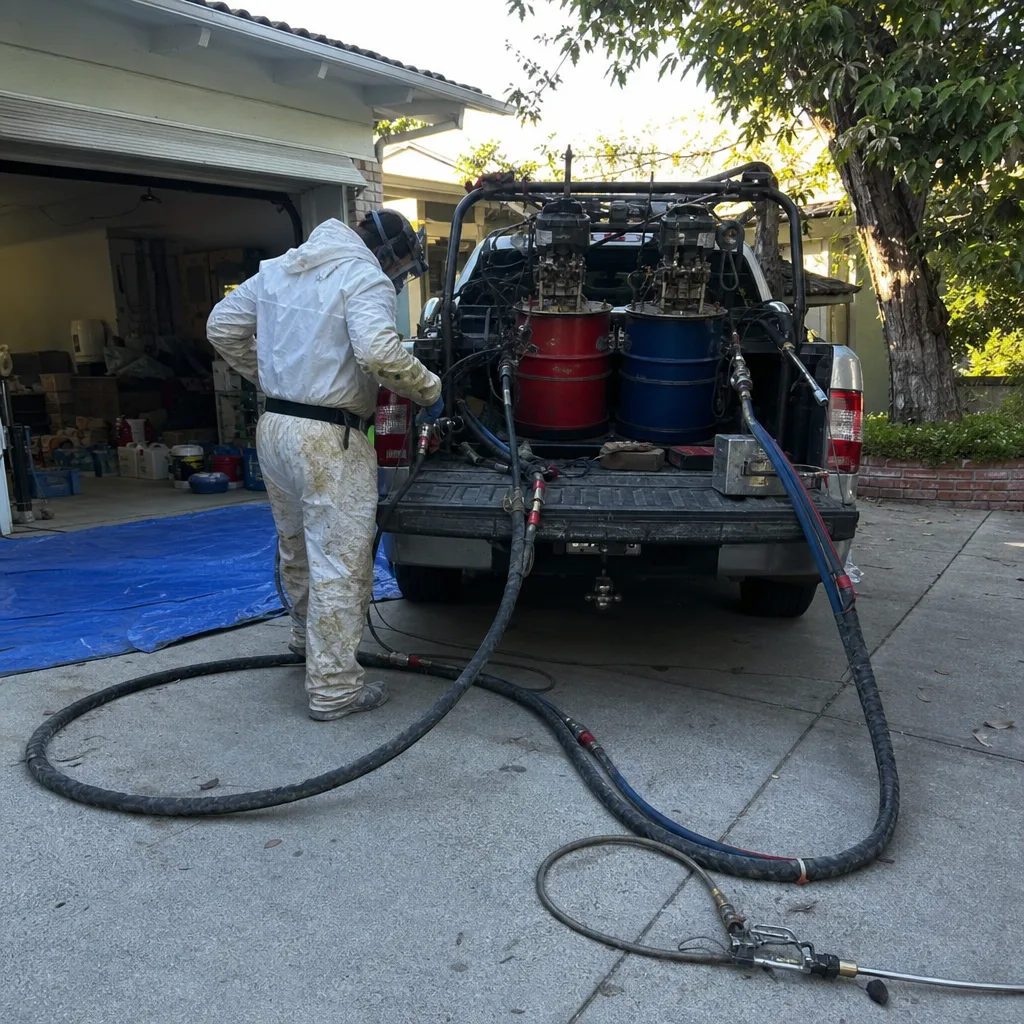
Attic insulation in Pasadena fails gradually through compression, settling, wind-driven dust loading, pest intrusion, and blocked ventilation. A 20-minute annual inspection, a $30 infrared thermometer, and disciplined documentation let you catch these failures before they become expensive problems. Measure depth at five points. Map ceiling temperatures. Check baffles at the eaves. Photograph everything with dates. When you find pest activity, moisture staining, or depth loss exceeding 20 percent, call for professional assessment. The homeowner with a five-year documentation folder gets better service, fairer pricing, and no surprises.
Since 2016, we’ve sealed and insulated more than 9,000 homes, every one with a written price before work started and a documented record when the crew left. The 365-Day Done Right Promise applies to all completed work. Materials come from Owens Corning, Johns Manville, Knauf, Rockwool, CertainTeed, Icynene, Demilec, and GreenFiber - no proprietary lock-in, ever. A live person answers calls 24/7 at (213) 816-5351.
Written by Wes Okafor, Owner at Topside Attic Insulation Pasadena, serving Pasadena since 2016.